Internet
Mobile
Devices
Support
Refer a friend
Moving to Malta
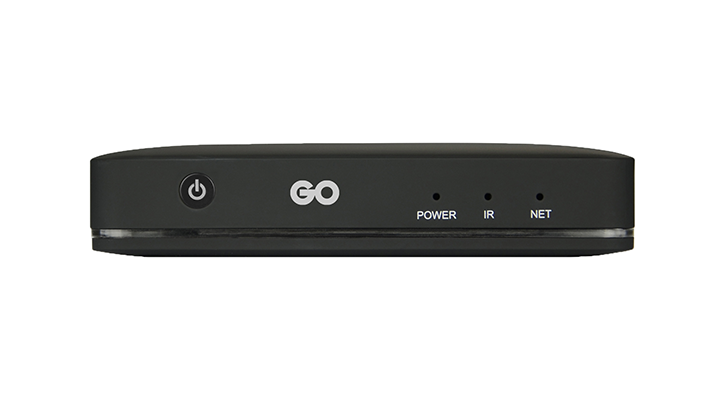
How do I set up my GO TV box?
To set up your Interactive TV, follow the steps below depending on the device you have:
Amigo 7X V2 Android TV STB
Wired connection:
- Use one end of a CAT 5 cable, which is provided with the self-installation kit and connect it to any port of the Internet modem, except for port4.
- Connect the other end of the CAT 5 cable to the GO Interactive set-top box
- Next, connect the HDMI, provided with the set-top box, to the set-top box itself and the HDMI on your TV set.
- Connect the AC adapter with the set-top box and the electricity socket.
- Switch on both your set-top box and your TV set, and make sure that the TV is connected to the correct input source.
- Follow the on-screen instruction to set up your Android TV STB.
- Pair the remote control with your Android TV STB by pressing the “OK” and the “Apps” button on the remote control simultaneously.
- Just bear in mind that the STB needs to load and sometimes, it may also have a software update, so the whole process might take some time.
- The GO TV app will show up in the Android Home Screen.
Wireless connection – Wi-Fi Connection:
- Connect the HDMI cable, provided with the set-top box, to the set-top box itself and the HDMI port on your TV set.
- Connect the AC adapter with the set-top box and the electricity socket.
- Switch on your set-top box and your TV set, and make sure that the TV is connected to the correct input source.
- Next, follow the on-screen instruction to set up your Android TV STB.
- Pair the remote control with your Android TV STB by pressing the “OK” and the “Apps” button on the remote control simultaneously.
- Select your Wi-Fi network and enter the Wi-Fi password.
- Just bear in mind that the STB may need some time to load and on occasion, it may also have a software update, so the entire process may take some time.
- The GO TV app will show up in the Android Home Screen.
For further information, we suggest you have a look at the User Guide.